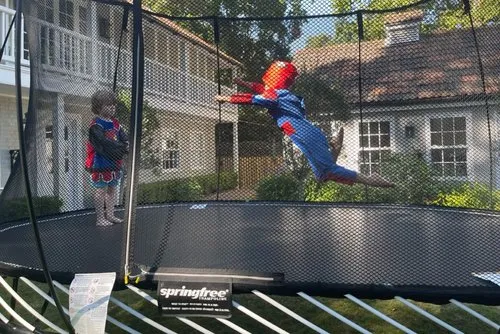
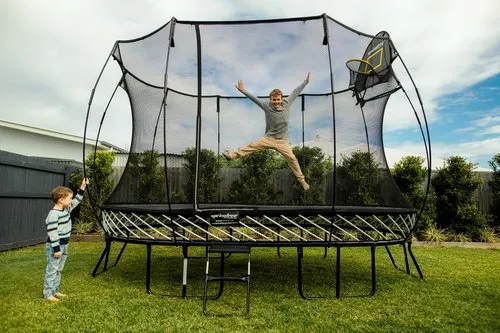
So, you’ve received your Springfree Trampoline and excitement ensues! You’ve finally gotten the trampoline your family wanted and everybody is ready to start jumping.
But that initial jolt of excitement quickly turns to a feeling of stress, as you realise “Oh, I actually need to put this thing together now.”
Many Springfree customers have been where you are now: Stuck in a malaise, trying to figure out how to even get started on assembling a trampoline.
We’re here to help. At Springfree Trampoline, we designed the product and have an installer team that has performed over 25,000 trampoline installations. Translation: There’s nobody more qualified to give you tips on how to properly assemble a Springfree Trampoline than us.
These tips are expertly crafted to assist you in putting together the trampoline that will provide you with plenty of joyful moments in the future. Let’s get to it.
NOTE: If you don’t want to assemble the trampoline yourself, you can have it done for you by a professional installer for £200.
7 Tips on How to Assemble a Springfree Trampoline
Below we've listed our top installation tips, with a few demos from our Springfree pros to ensure your kids are bouncing as soon as possible:
Download the BILT App
Assemble the Trampoline Together
Keep the Instructions Close
Allow Yourself Plenty of Time to Assemble
Focus on Technique
Tip 1: Ensure the net is around the frame with the mat rods through each hole prior to installing the mat
Tip 2: Check to make sure the tag on all Mat Rod Holders are catching on the mat before attempting to install
Tip 3: Put your right leg forward, ensure your right elbow is pressed into your right hip and have your palm facing upwards
Tip 4: Use a quick, full body movement to drive the mat rod forward. Slow movements will be difficult and inefficient.
Tip 5: Push the ball of the mat rod past the Mat Rod Holder, then slightly upwards, and as the mat rod comes back towards you, it will pop into the Mat Rod Holder.
Tip 6: Start by inserting the mat rods at all 'blue marked' locations on the mat and frame. This will spread the tension. Then insert the mat rod to the RIGHT of each of the blue marked locations. Continue this technique until you can simply fill in the remaining rods and the tension is well spread out. (This can be difficult for some; refer to Steps 26 and 43 on the ‘Medium Oval Springfree Trampoline' in the BILT app if you get stuck).
Put Accessories on First!
Finish Your Trampoline Assembly Right

What Not to Do When Assembling a Springfree Trampoline
Before you start assembling your Springfree Trampoline, here are a few things you DO NOT want to do when installing your trampoline:
- Step away from the power tools… and the hammers and the rubber mallets. You’ll only ever need to use the tools provided with your Springfree package.
- Don’t twist the mat edge. If you need to remove a mat rod from its socket, use the same semi-circular technique you used to get it in there, just in the opposite direction.
- Don’t give up. If you are having difficulties and require assistance, contact us at 01276 477 461 during business hours.
Need Help Assembling Your Springfree Trampoline?
The seven tips discussed in this article should give some guidance to get your trampoline up and bouncing as quickly as possible.
Assembling a Springfree Trampoline can be done within the day and shouldn’t be too big of a hassle if you follow the instructions.
However, we also understand that you may not have the time or desire to put up an entire trampoline on your own. If that’s the case, we’ve got you covered.
If you haven’t clicked “Buy” yet on a Springfree Trampoline, you can include professional installation for £200 at purchase.
Already purchased a trampoline and want professional installation? That’s okay, you can still receive professional assistance through our installers at Springfree.
Read through our Installation Page to find all the details you need about scheduling installers to come assemble your Springfree Trampoline.
If you get stuck at any point during the installation process, reach out to us: We’re here to make sure you have the best experience possible with your Springfree Trampoline.


